Understanding Your Foam Mattress Topper
Before diving into maintenance, let’s clarify what we’re dealing with. My foam mattress topper not only amps up the comfort of my bed, it’s the key player in defining my sleep quality.
Types of Foam Mattress Toppers
There’s a variety of foam mattress toppers out there, but I’ll focus on the common ones. Memory foam mattress toppers are popular for their capacity to contour to my body, providing pressure relief where I need it. The best mattress toppers usually consist of materials like polyurethane foam, which can range in density and thickness.
| Type | Material | Density | Comfort Level |
|---|---|---|---|
| Memory Foam | Polyurethane | High (Contours to body shape) | High (Pressure relief) |
| Polyurethane Foam | Polyurethane | Varies (Standard to high-density) | Medium (Supportive) |
Benefits of a Clean Mattress Topper
Keeping my foam mattress topper clean is not just about aesthetics; it’s essential for health and longevity. A clean topper can resist allergens like dust mites and mold, which is crucial to my sleep hygiene. Regular cleaning also maintains the integrity of the material, ensuring that the topper continues providing the best possible comfort for a longer period.
Routine Cleaning and Maintenance
I’ve found that keeping my foam mattress topper in top shape is all about sticking to a regular cleaning routine. It’s not just about appearances—it’s also about hygiene and ensuring my sleeping environment stays comfortable and allergen-free. Here’s how I tackle the regular up-keep:
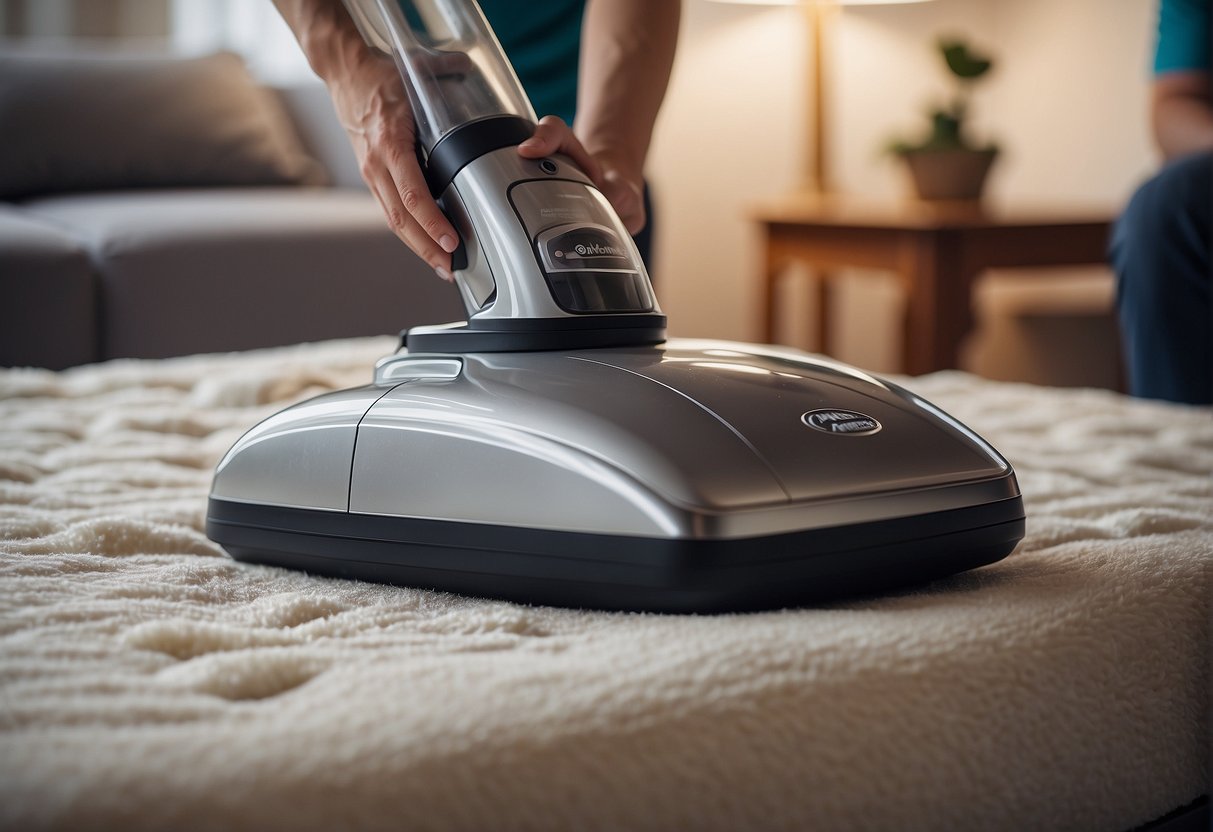
Regular Vacuuming
I always try to vacuum my mattress topper whenever I change my sheets, which is usually weekly. Dust and skin cells can accumulate fast, and the best way to keep them at bay is by running a vacuum cleaner with an upholstery attachment over the topper. This helps to keep it dust-free and reduces the potential buildup of dust mites.
Dealing With Dust and Debris
Besides the usual dust, sometimes there’s other debris that finds its way onto my topper, like crumbs from those guilty bed-snacking sessions. In those cases, I prefer to spot-clean the area. Shaking out the topper outside is a great way to get rid of this excess debris, but I do it gently to avoid damaging the foam.
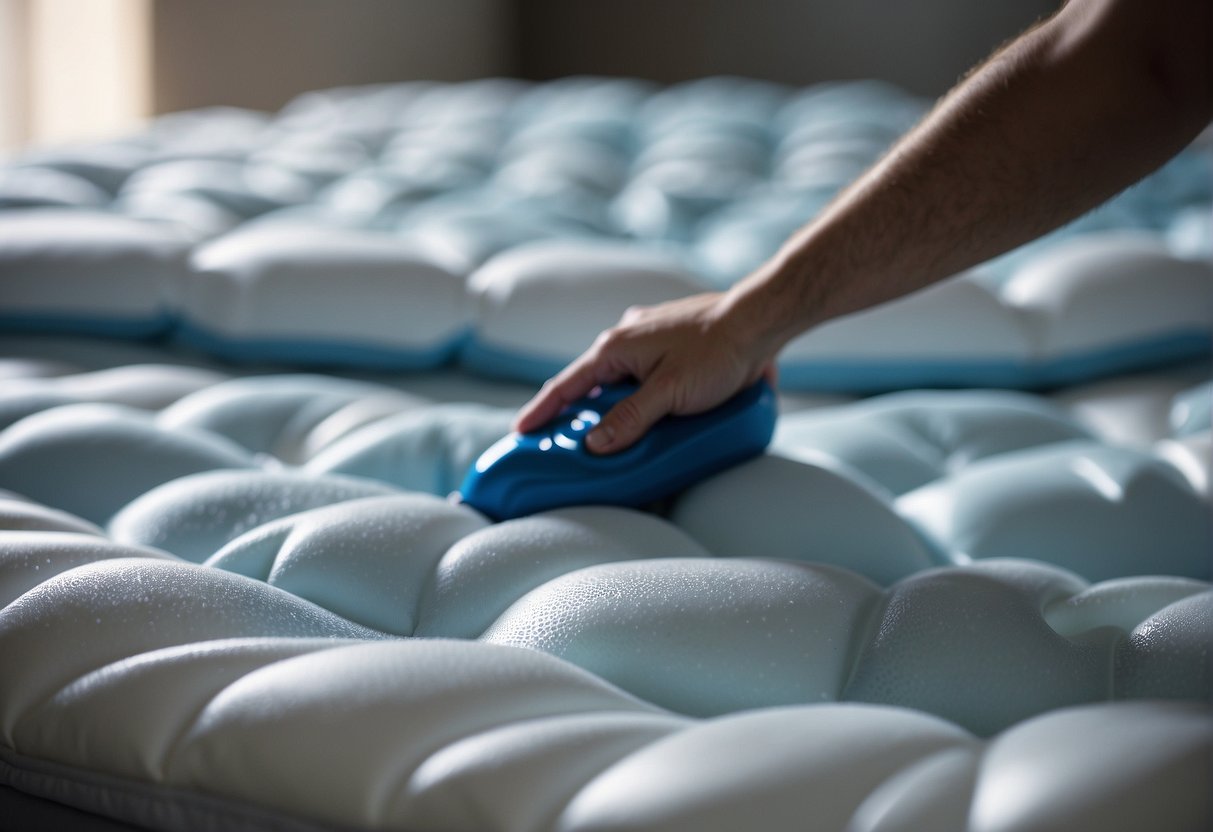
Spot-Cleaning Spills and Stains
We’ve all had those moments where we spill something or sweat through the sheets. The key here is to tackle stains immediately with a mild cleaning solution. I dab at the spill with a mix of gentle cleaning products — never harsh chemicals. For body oils and sweat stains, I sometimes use a concoction of baking soda and a water-vinegar solution; this does the trick without ruining the foam.
For maintenance, I keep a mattress protector on my topper as well to shield it from most spills and stains. It’s an extra layer of protection that helps keep the topper clean and extends its life.
Deep Cleaning Your Mattress Topper
When my mattress topper needs a thorough cleanse beyond just vacuuming, I reach for specific cleaning agents and tackle those tough stains directly. I make sure to focus on gentle yet effective methods that ensure my topper comes out looking and smelling fresh without damaging it.
Preparing the Cleaning Solution
For a DIY cleaning solution, I combine equal parts of white vinegar and water in a spray bottle. Vinegar is great for killing bacteria and eliminating odors. If mold or mildew is a concern, I’ll sometimes add a teaspoon of hydrogen peroxide to the mix to bolster its cleaning power. Remember: Never soak the foam, as it can damage the material.
Removing Tough Stains
If I’m dealing with troublesome stains like urine or blood, I sprinkle baking soda over the affected area and let it sit before I start the actual cleaning. This step helps to lift the stains and neutralize any odors. After the baking soda has done its job, I gently dab the stain with the vinegar solution—never rub, as this can push the stain deeper into the foam.
Stain Removal Guide:
- Urine: Blot with vinegar solution, sprinkle baking soda, wait, then gently dab.
- Blood: Apply hydrogen peroxide directly, wait for the bubbling to subside, then blot.
- General Stains: Use the vinegar solution, let it sit, and blot.
Drying and Freshening Up
After treating any spots, I rinse the area with a damp cloth—careful not to make the topper too wet. The key to drying the mattress topper is to let it air-dry completely. This can take a good few hours in a well-ventilated area. To speed up the drying time, I sometimes set up a fan nearby or leave the topper in the sun for natural disinfection and odor elimination.
Protecting and Prolonging Mattress Topper Life
To keep my foam mattress topper in top-notch condition, I’ve learned that protecting it and handling it carefully is key. Not only does this help maintain its quality and comfort, but it also extends its lifespan significantly.
Using Mattress Protectors
I always use a mattress protector over my foam topper. A good quality protector offers a waterproof barrier, preventing spills and stains that can seep into the topper. Choosing a protector that’s breathable ensures I maintain the comfort of my memory foam while preserving its condition.
Proper Usage and Storage
When it comes to usage and storage, I’ve picked up a few smart habits:
- Regular Cleaning: I make it a point to vacuum my foam topper with a handheld vacuum to keep it dust-free.
- Flipping and Rotating: While you can’t flip memory foam toppers like a traditional mattress, rotating them every six months distributes wear evenly.
- Disinfecting: Spot cleaning with a gentle disinfectant helps to keep my topper hygienic without damaging the memory foam.
- Storage: If I ever need to store my mattress topper, I ensure it’s clean and completely dry to prevent mold. I avoid folding the foam as it can damage the structure; instead, I store it flat or gently rolled up.
These simple steps aid in prolonging the life of my topper, ensuring continuous sleep quality without the need to frequently replace it.